DIY Nail Art Techniques: Bringing Lavender Nail Bar 2 Magic Home


Are you longing for the stunning nail designs you get at Lavender Nail Bar but wish you could achieve the same look at home? With a few DIY nail art techniques, you can bring that professional magic right to your fingertips. Whether you're a beginner or a nail art enthusiast, these tips will help you create beautiful designs with ease.
Essential Tools for DIY Nail Art
Before diving into nail art, it's essential to have the right tools. A basic nail art kit should include:
- Nail polish in various colors
- Base and top coats
- Nail art brushes and dotting tools
- Nail tape and stickers
- Glitter and rhinestones
Having these tools on hand will make it easier to experiment with different designs and techniques.
Simple Techniques for Beginners
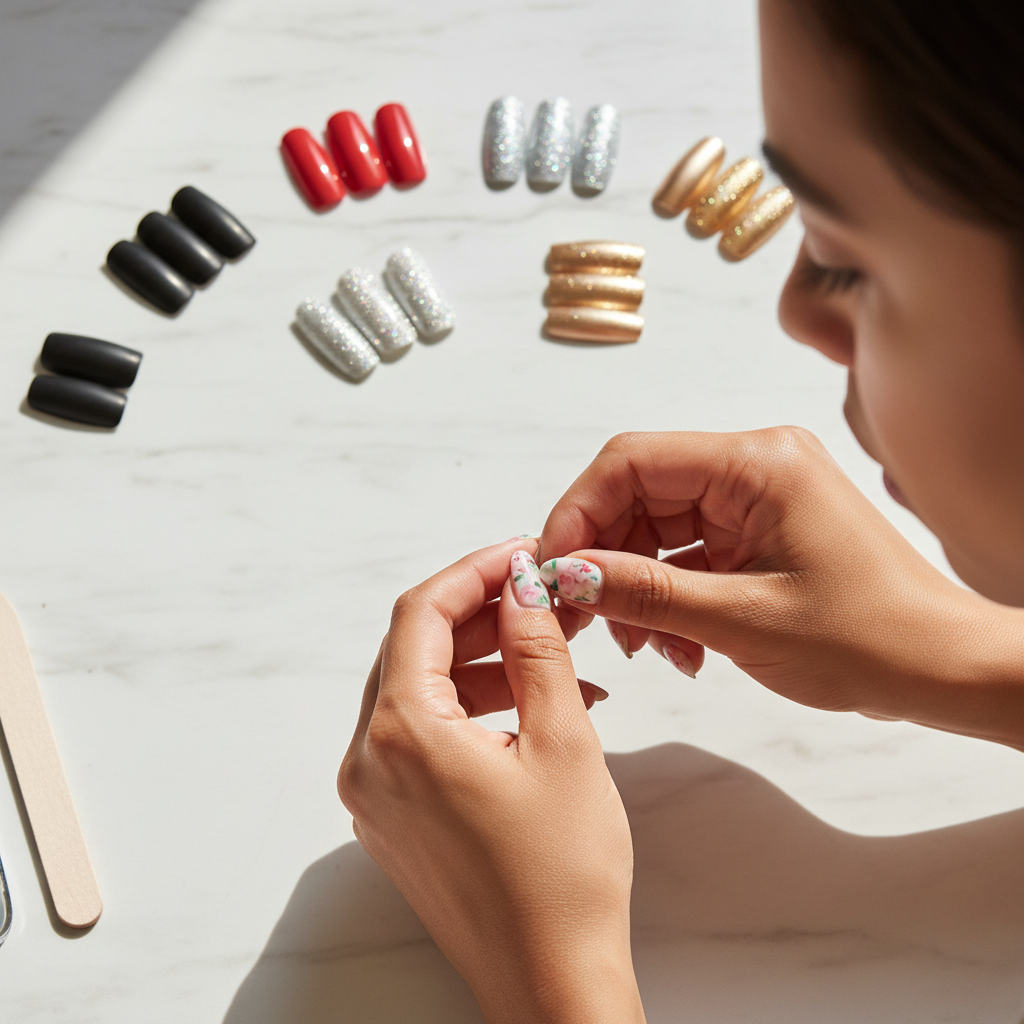
If you're new to nail art, start with simple techniques that don't require a lot of skill or precision. One popular method is the dotting technique, which involves using a dotting tool to create polka dots or flower patterns. You can also try using nail tape to create geometric shapes.
Another easy technique is the sponge gradient. Apply two or three colors to a makeup sponge and dab it onto your nails for a smooth gradient effect. This method is perfect for achieving a professional look with minimal effort.
Advanced Techniques for Enthusiasts
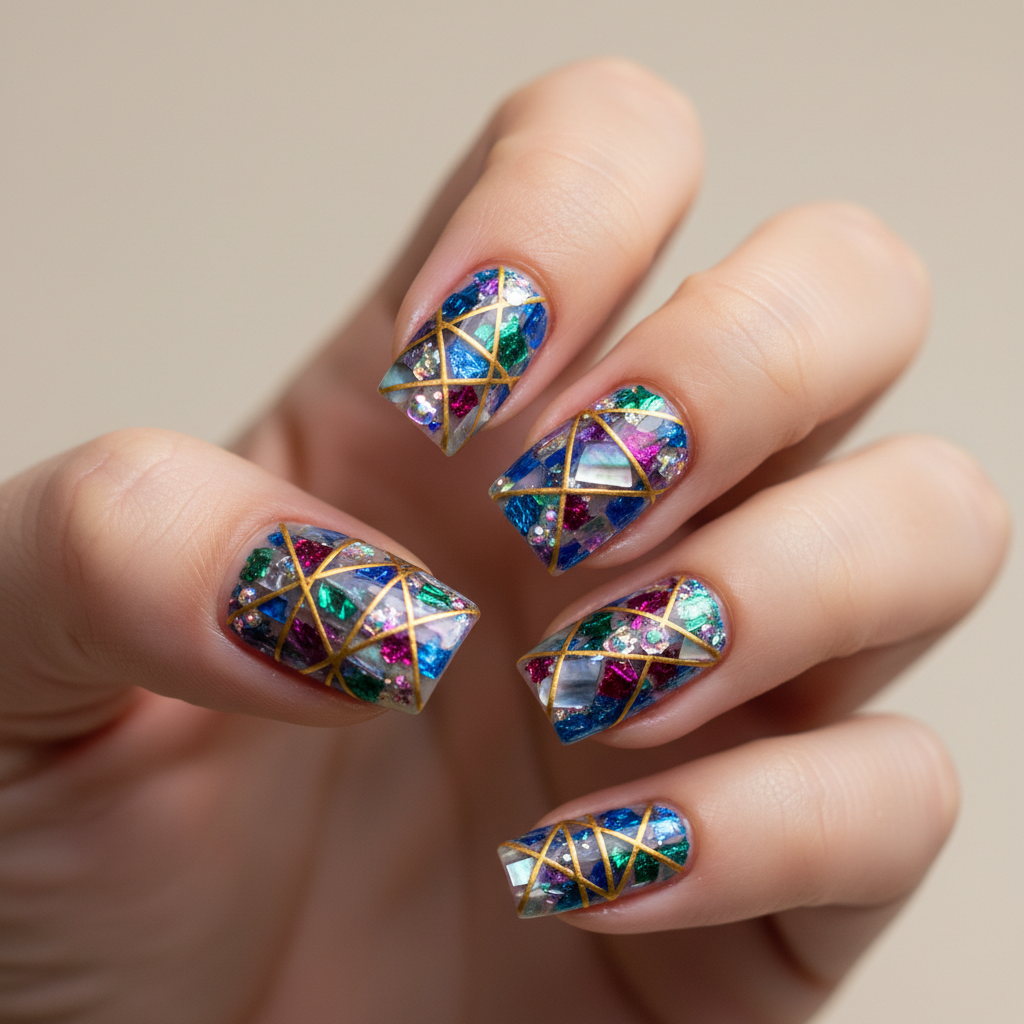
Once you're comfortable with basic designs, it's time to explore more advanced techniques. One such technique is the water marble effect. By dropping different colors of polish into a cup of water and swirling them together, you can create unique, marbled patterns. Dip your nails into the mixture for a stunning effect.
Another advanced technique is the stamping method, which uses engraved metal plates to transfer intricate designs onto your nails. With a little practice, you can achieve salon-quality results.
Caring for Your DIY Nail Art
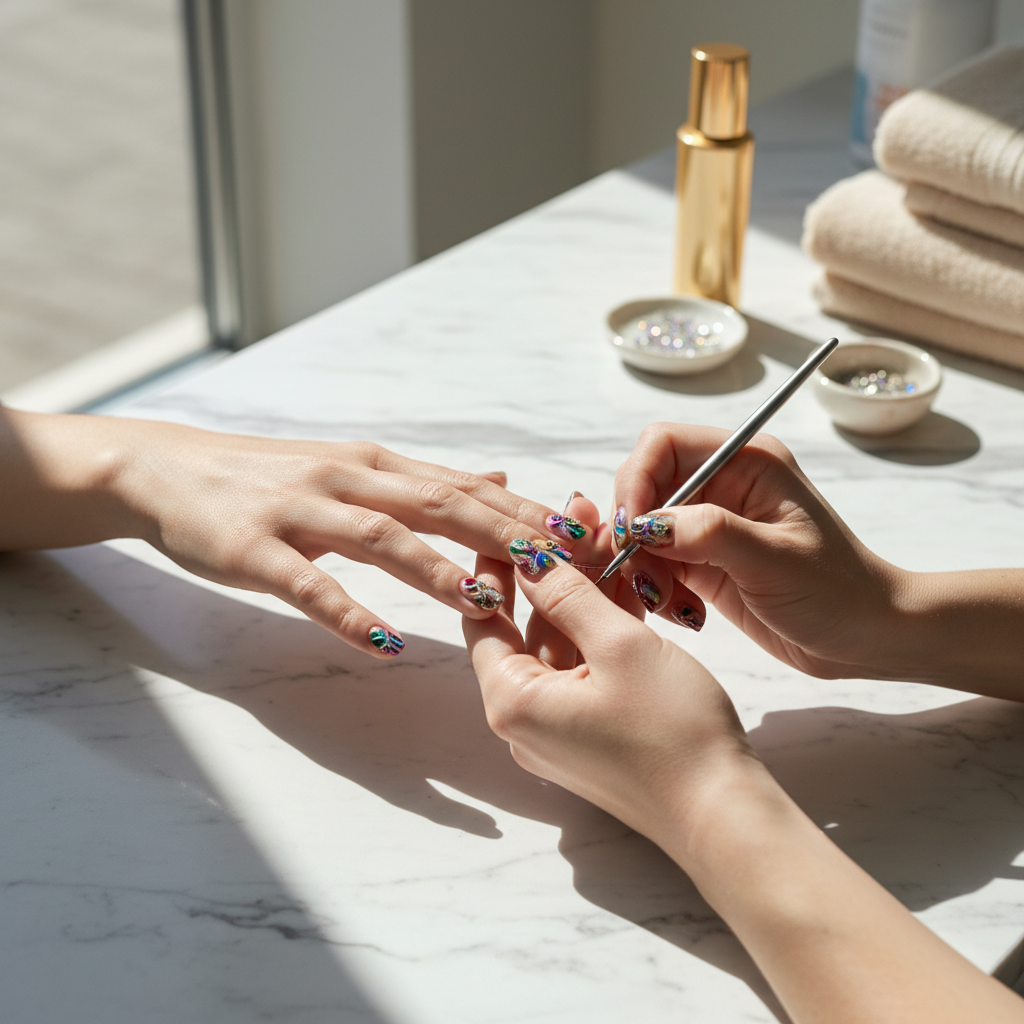
To ensure your DIY nail art lasts, it's important to care for your nails properly. Always apply a base coat to protect your nails from staining and a top coat to seal your design and add shine. Additionally, keep your nails hydrated and avoid exposing them to harsh chemicals.
Remember to touch up any chips or imperfections to maintain a flawless look throughout the week. With proper care, your DIY nail art can last as long as professional designs.
Conclusion: Unleash Your Creativity
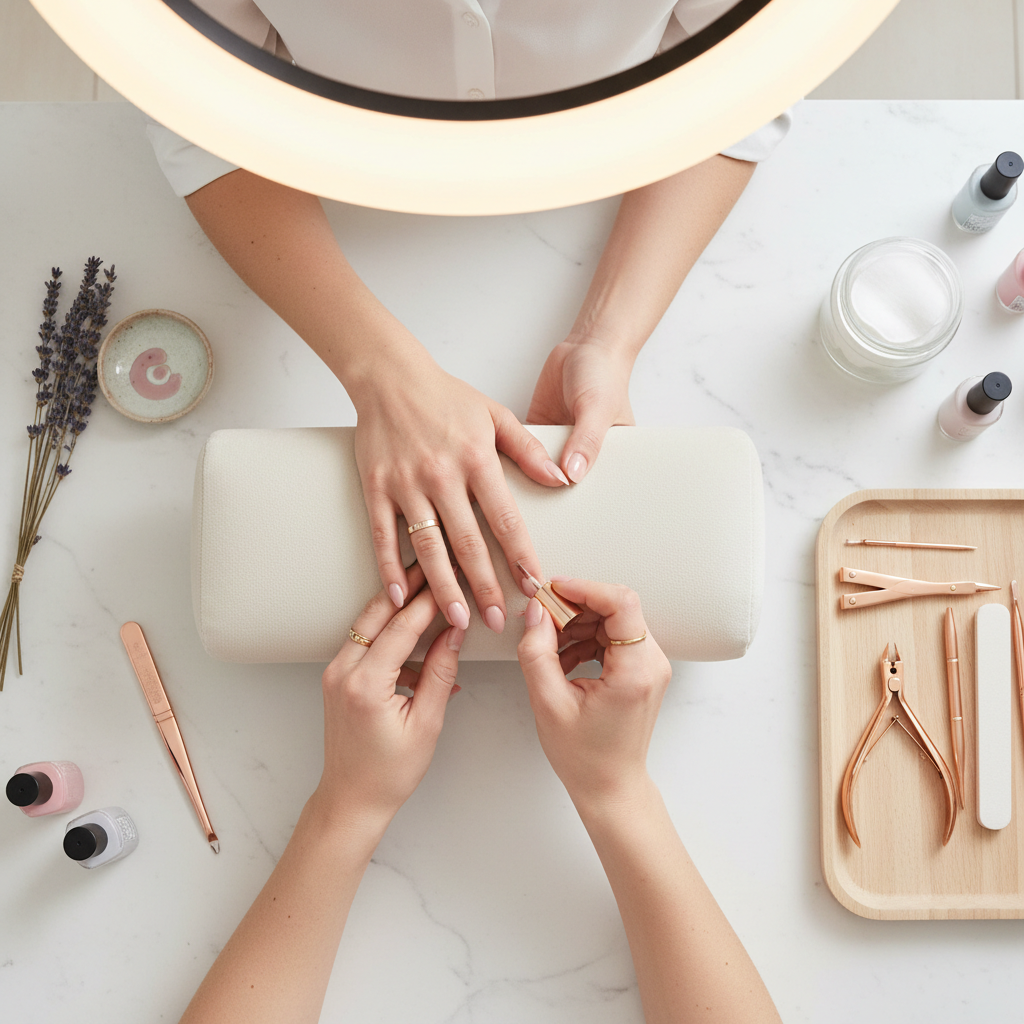
Bringing the magic of Lavender Nail Bar home is easier than you think. With the right tools and techniques, you can create stunning nail art that reflects your personal style. Don't be afraid to experiment and unleash your creativity. Your nails are a canvas, and the possibilities are endless.
Whether you're recreating your favorite salon designs or inventing new ones, DIY nail art is a fun and rewarding hobby that lets you express yourself in vibrant, colorful ways.